Building a Bitcoin Cluster
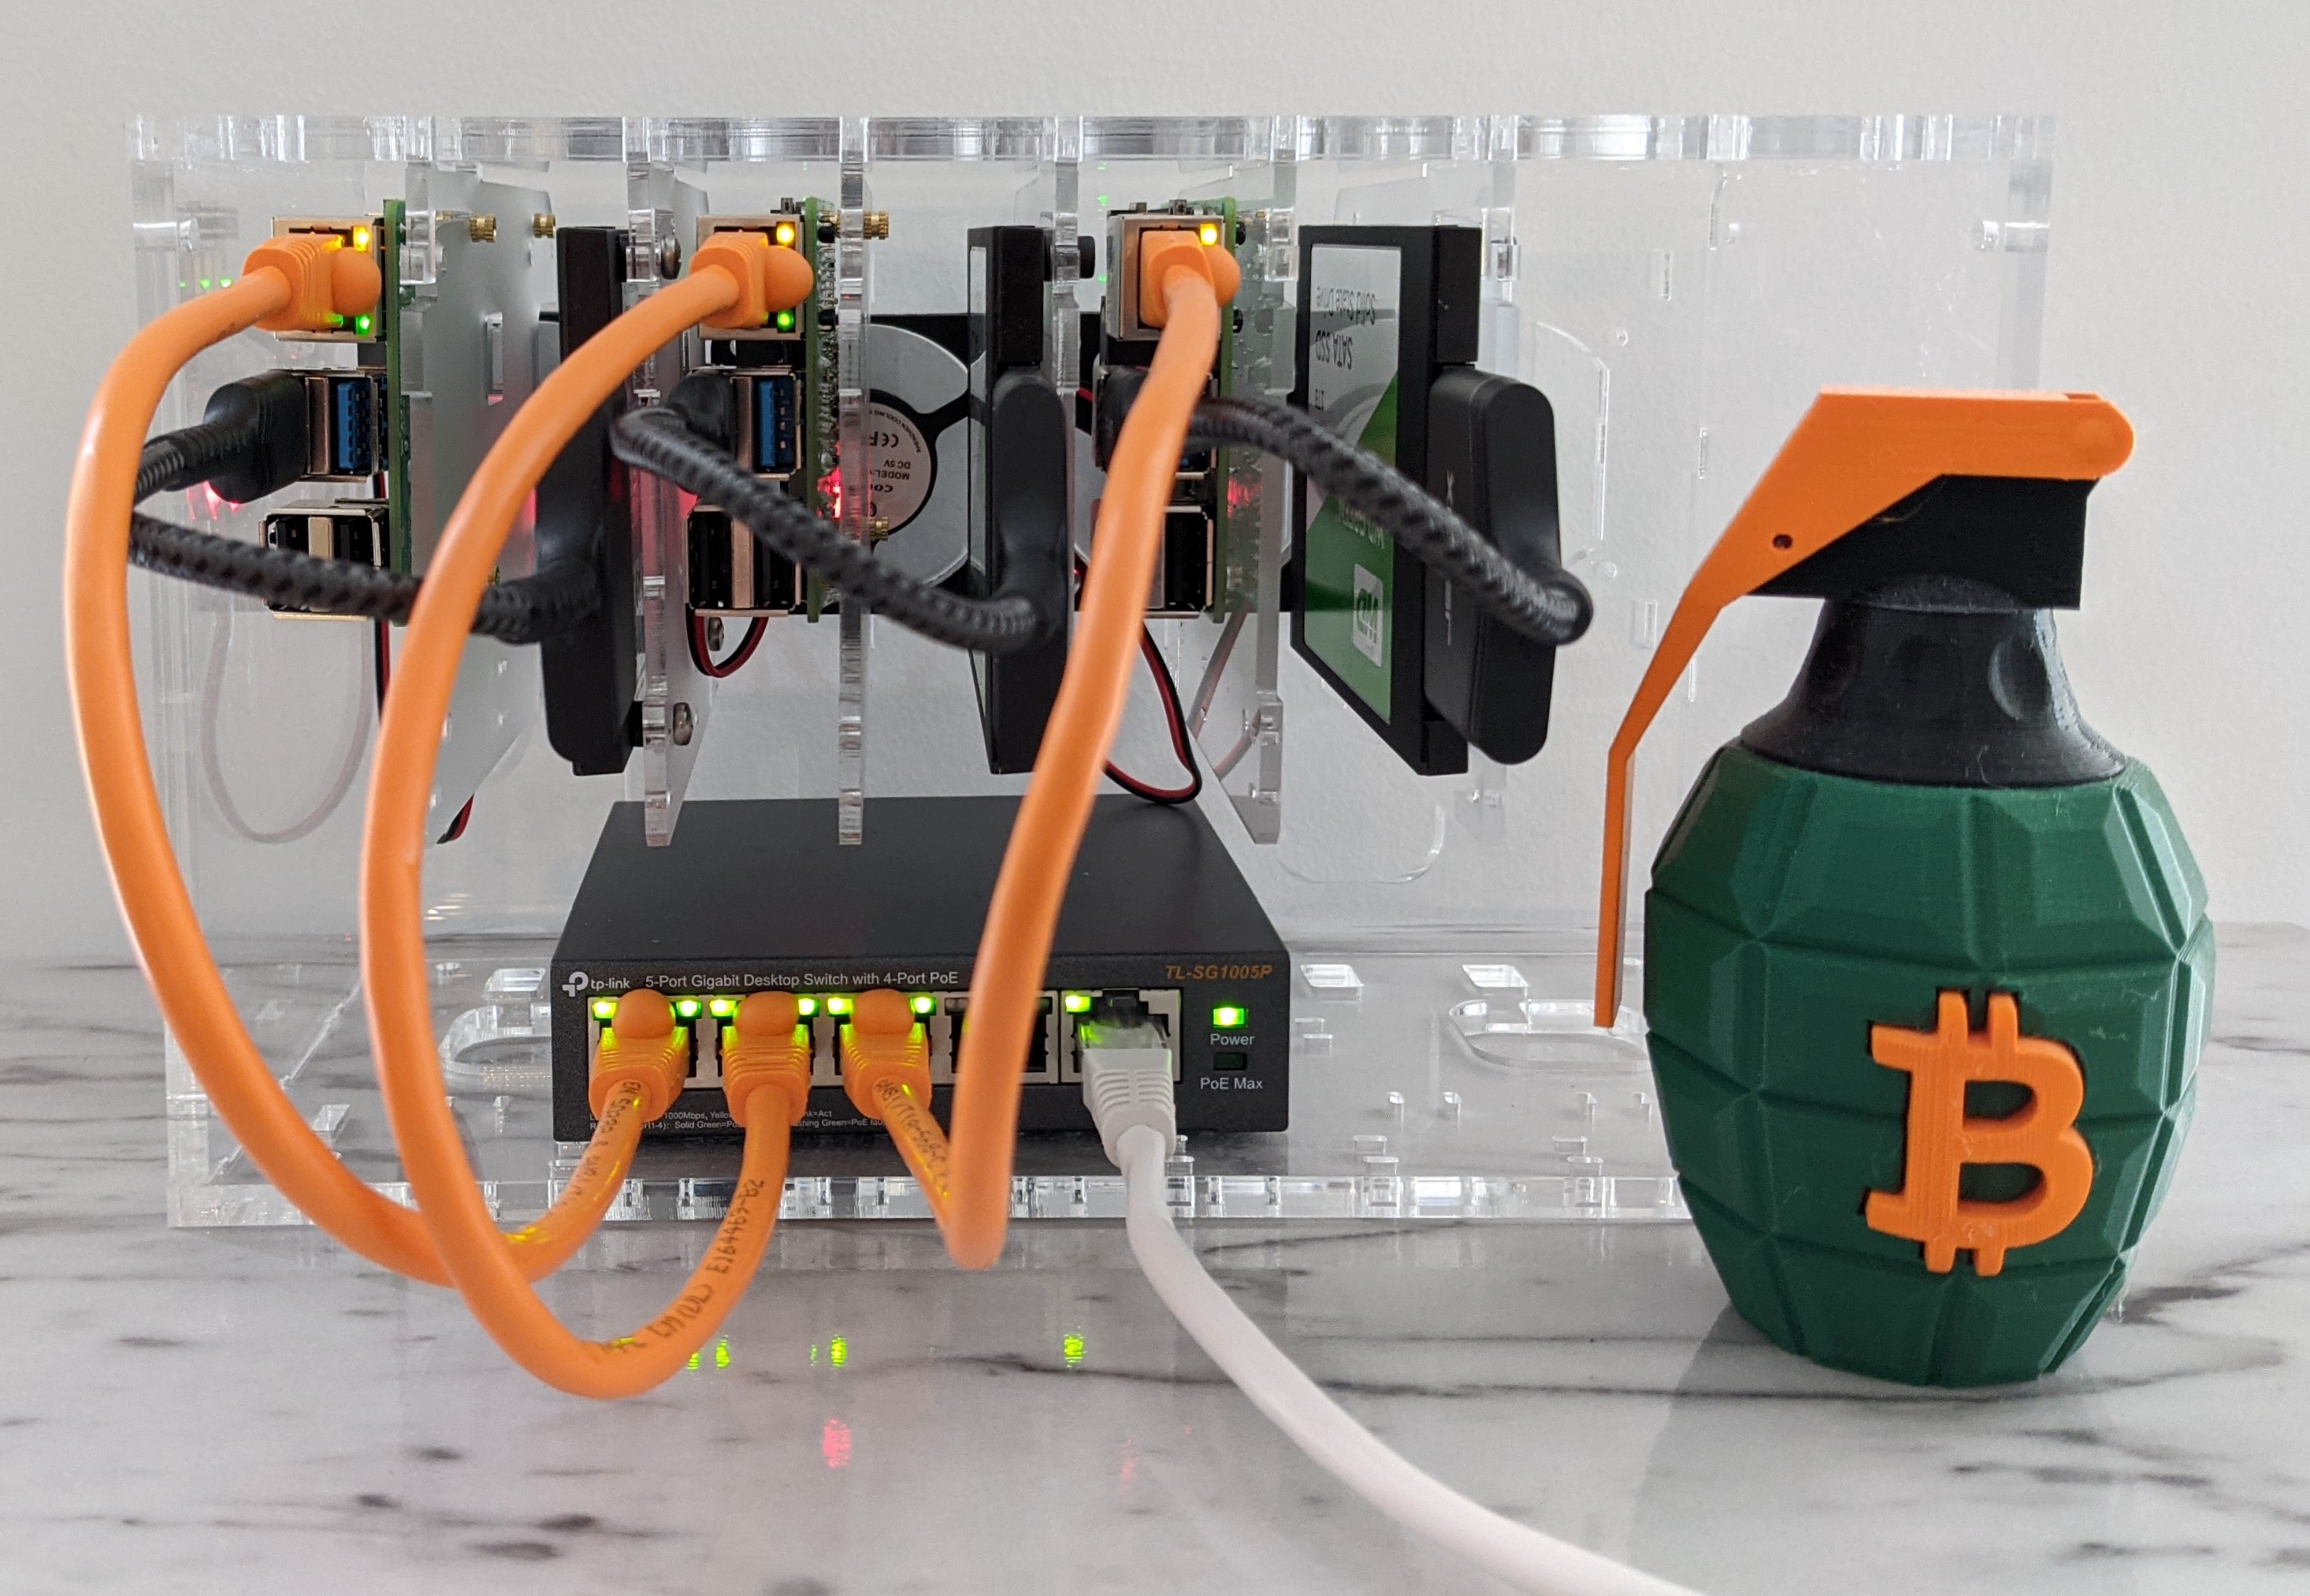
If you are a Bitcoin developer or tinkerer you might want to setup multiple Bitcoin nodes. Here is how I built a Bitcoin cluster with three nodes:
1. Buy the case and ethernet switch ($120):
- Cloudlet CASE ($70)
- 4-port PoE (Power-over-Ethernet) Switch ($50)
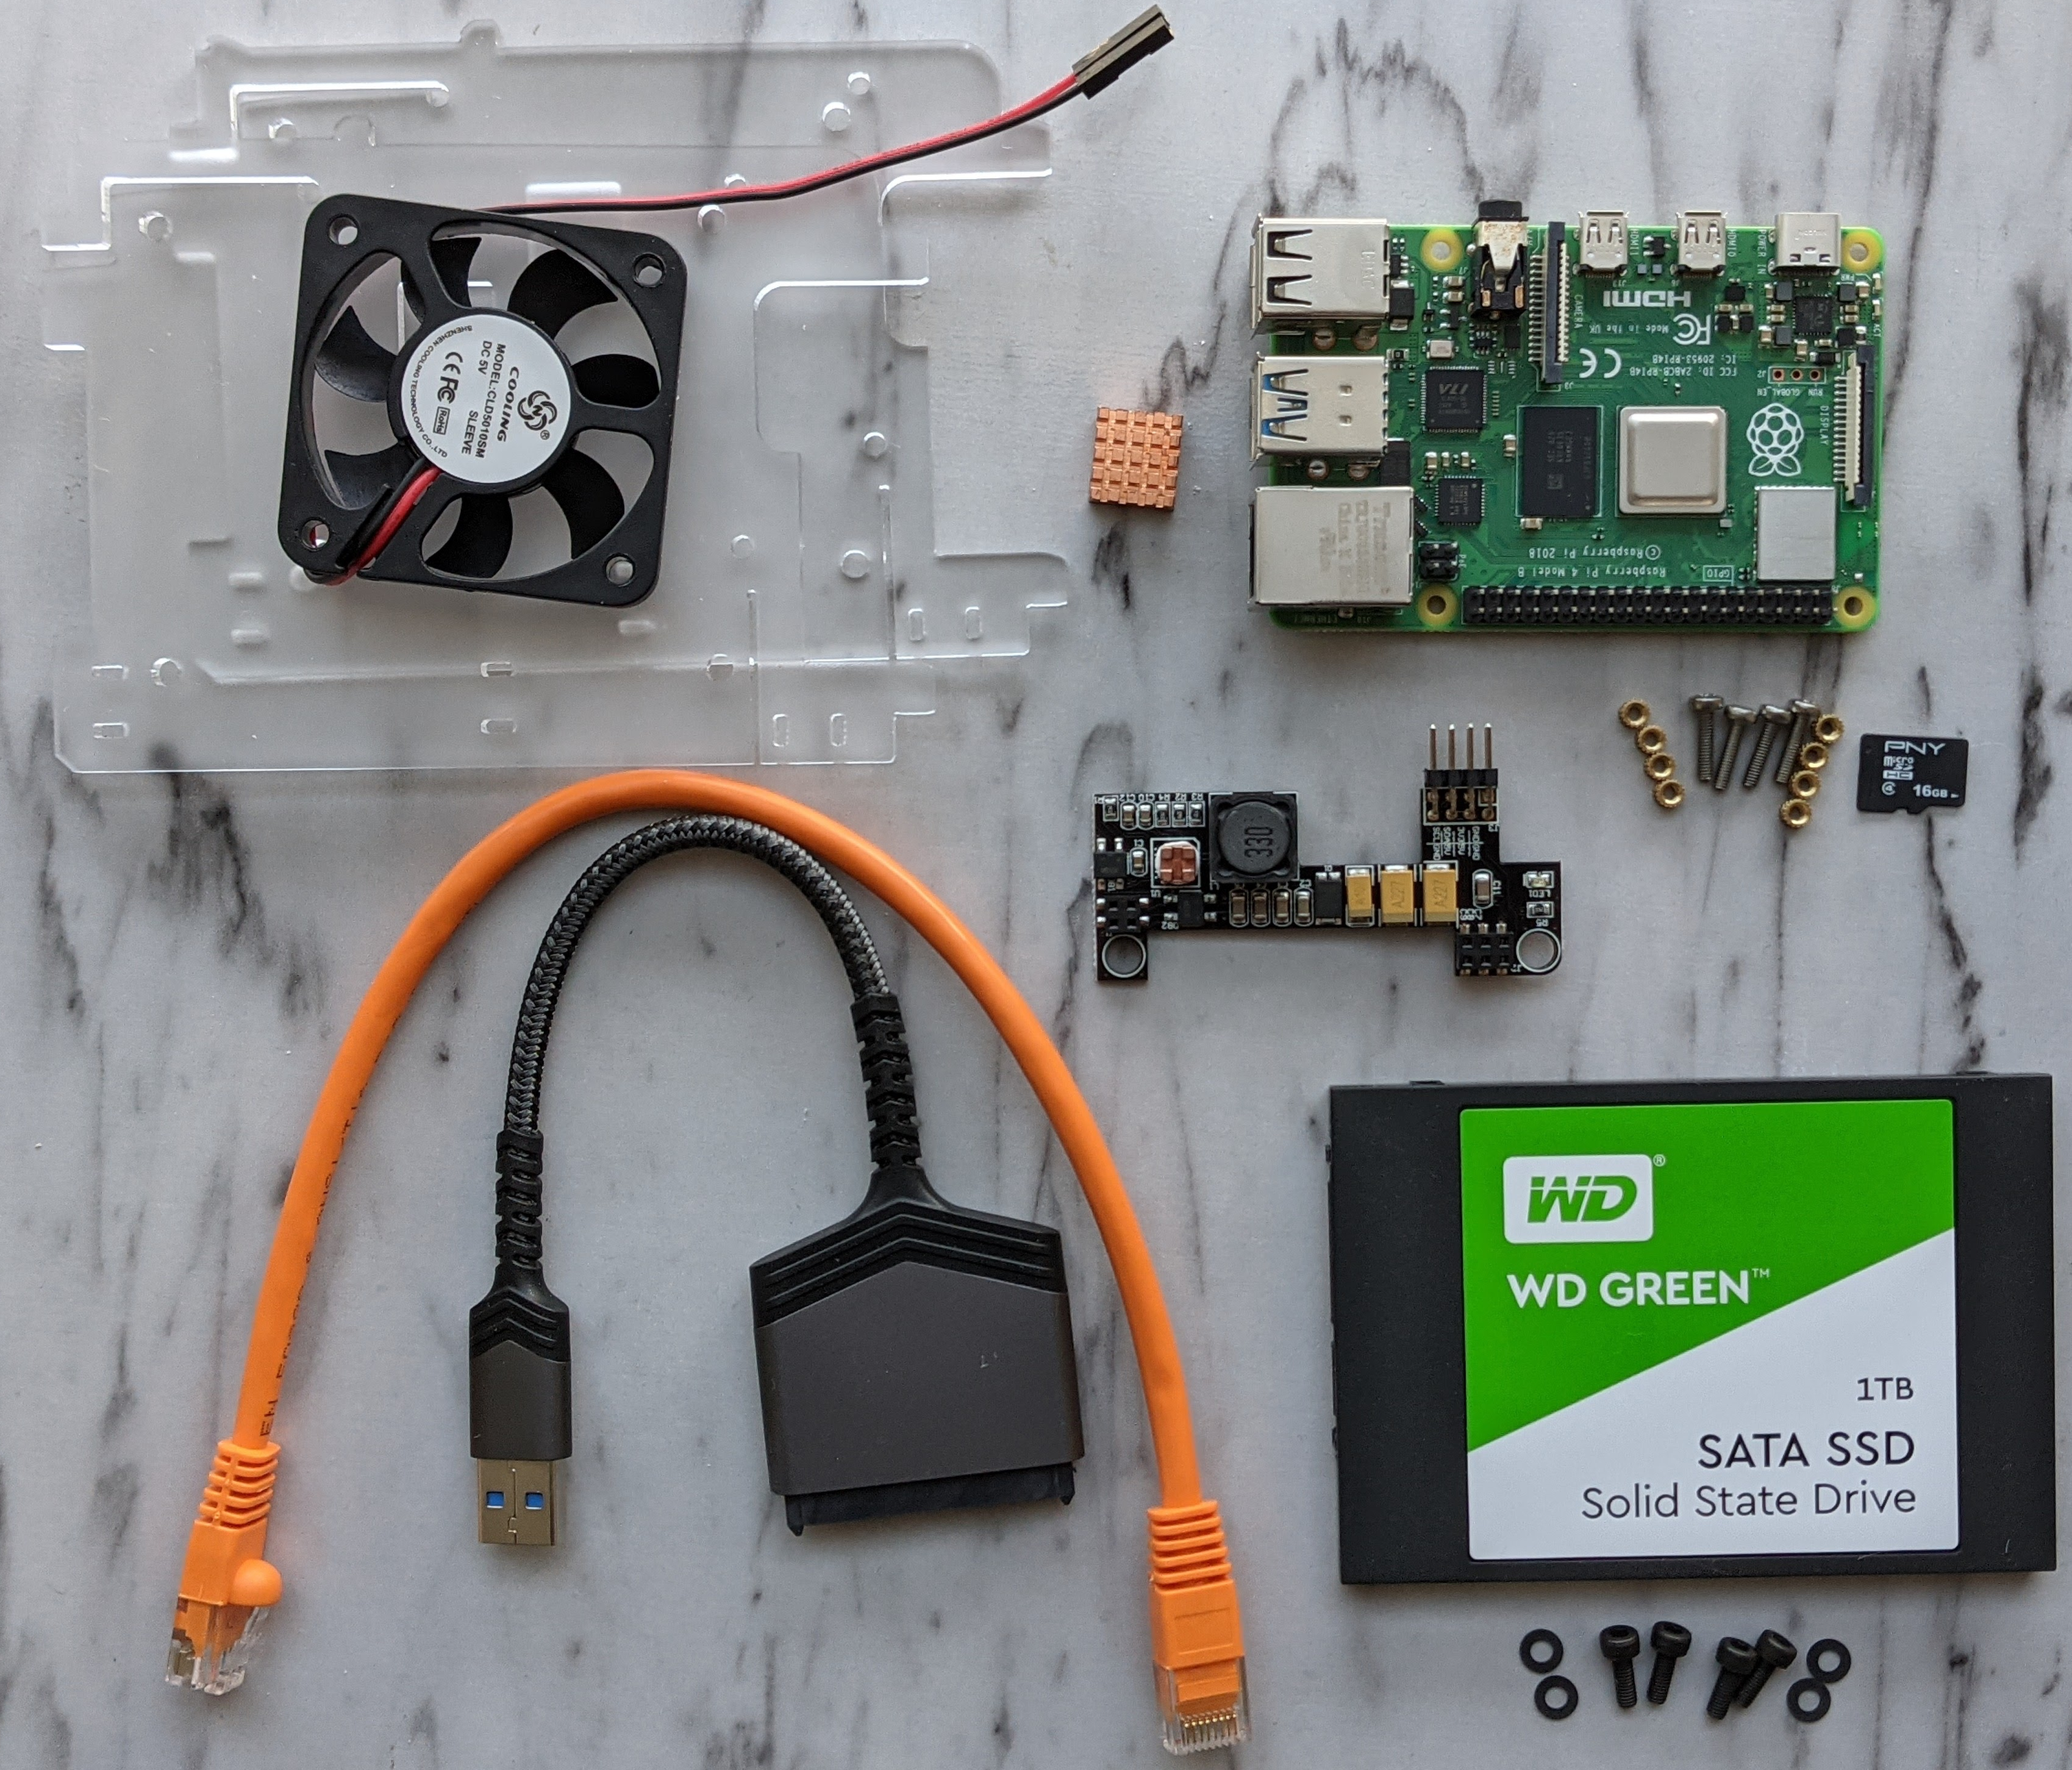
2. For each Bitcoin node buy the following ($190):
- 1TB Internal SSD ($90)
- SATA3 to USB3 Adaptor Cable ($10)
- 1ft Ethernet Cable ($1)
- PoE (Power-over-Ethernet) HAT for Raspberry Pi 4 ($20)
- Raspberry Pi 4 (4 GB RAM) ($60)
- SD Card 8GB+ ($5)
- M3 metric screws + spacers for mounting extra SSDs ($1)
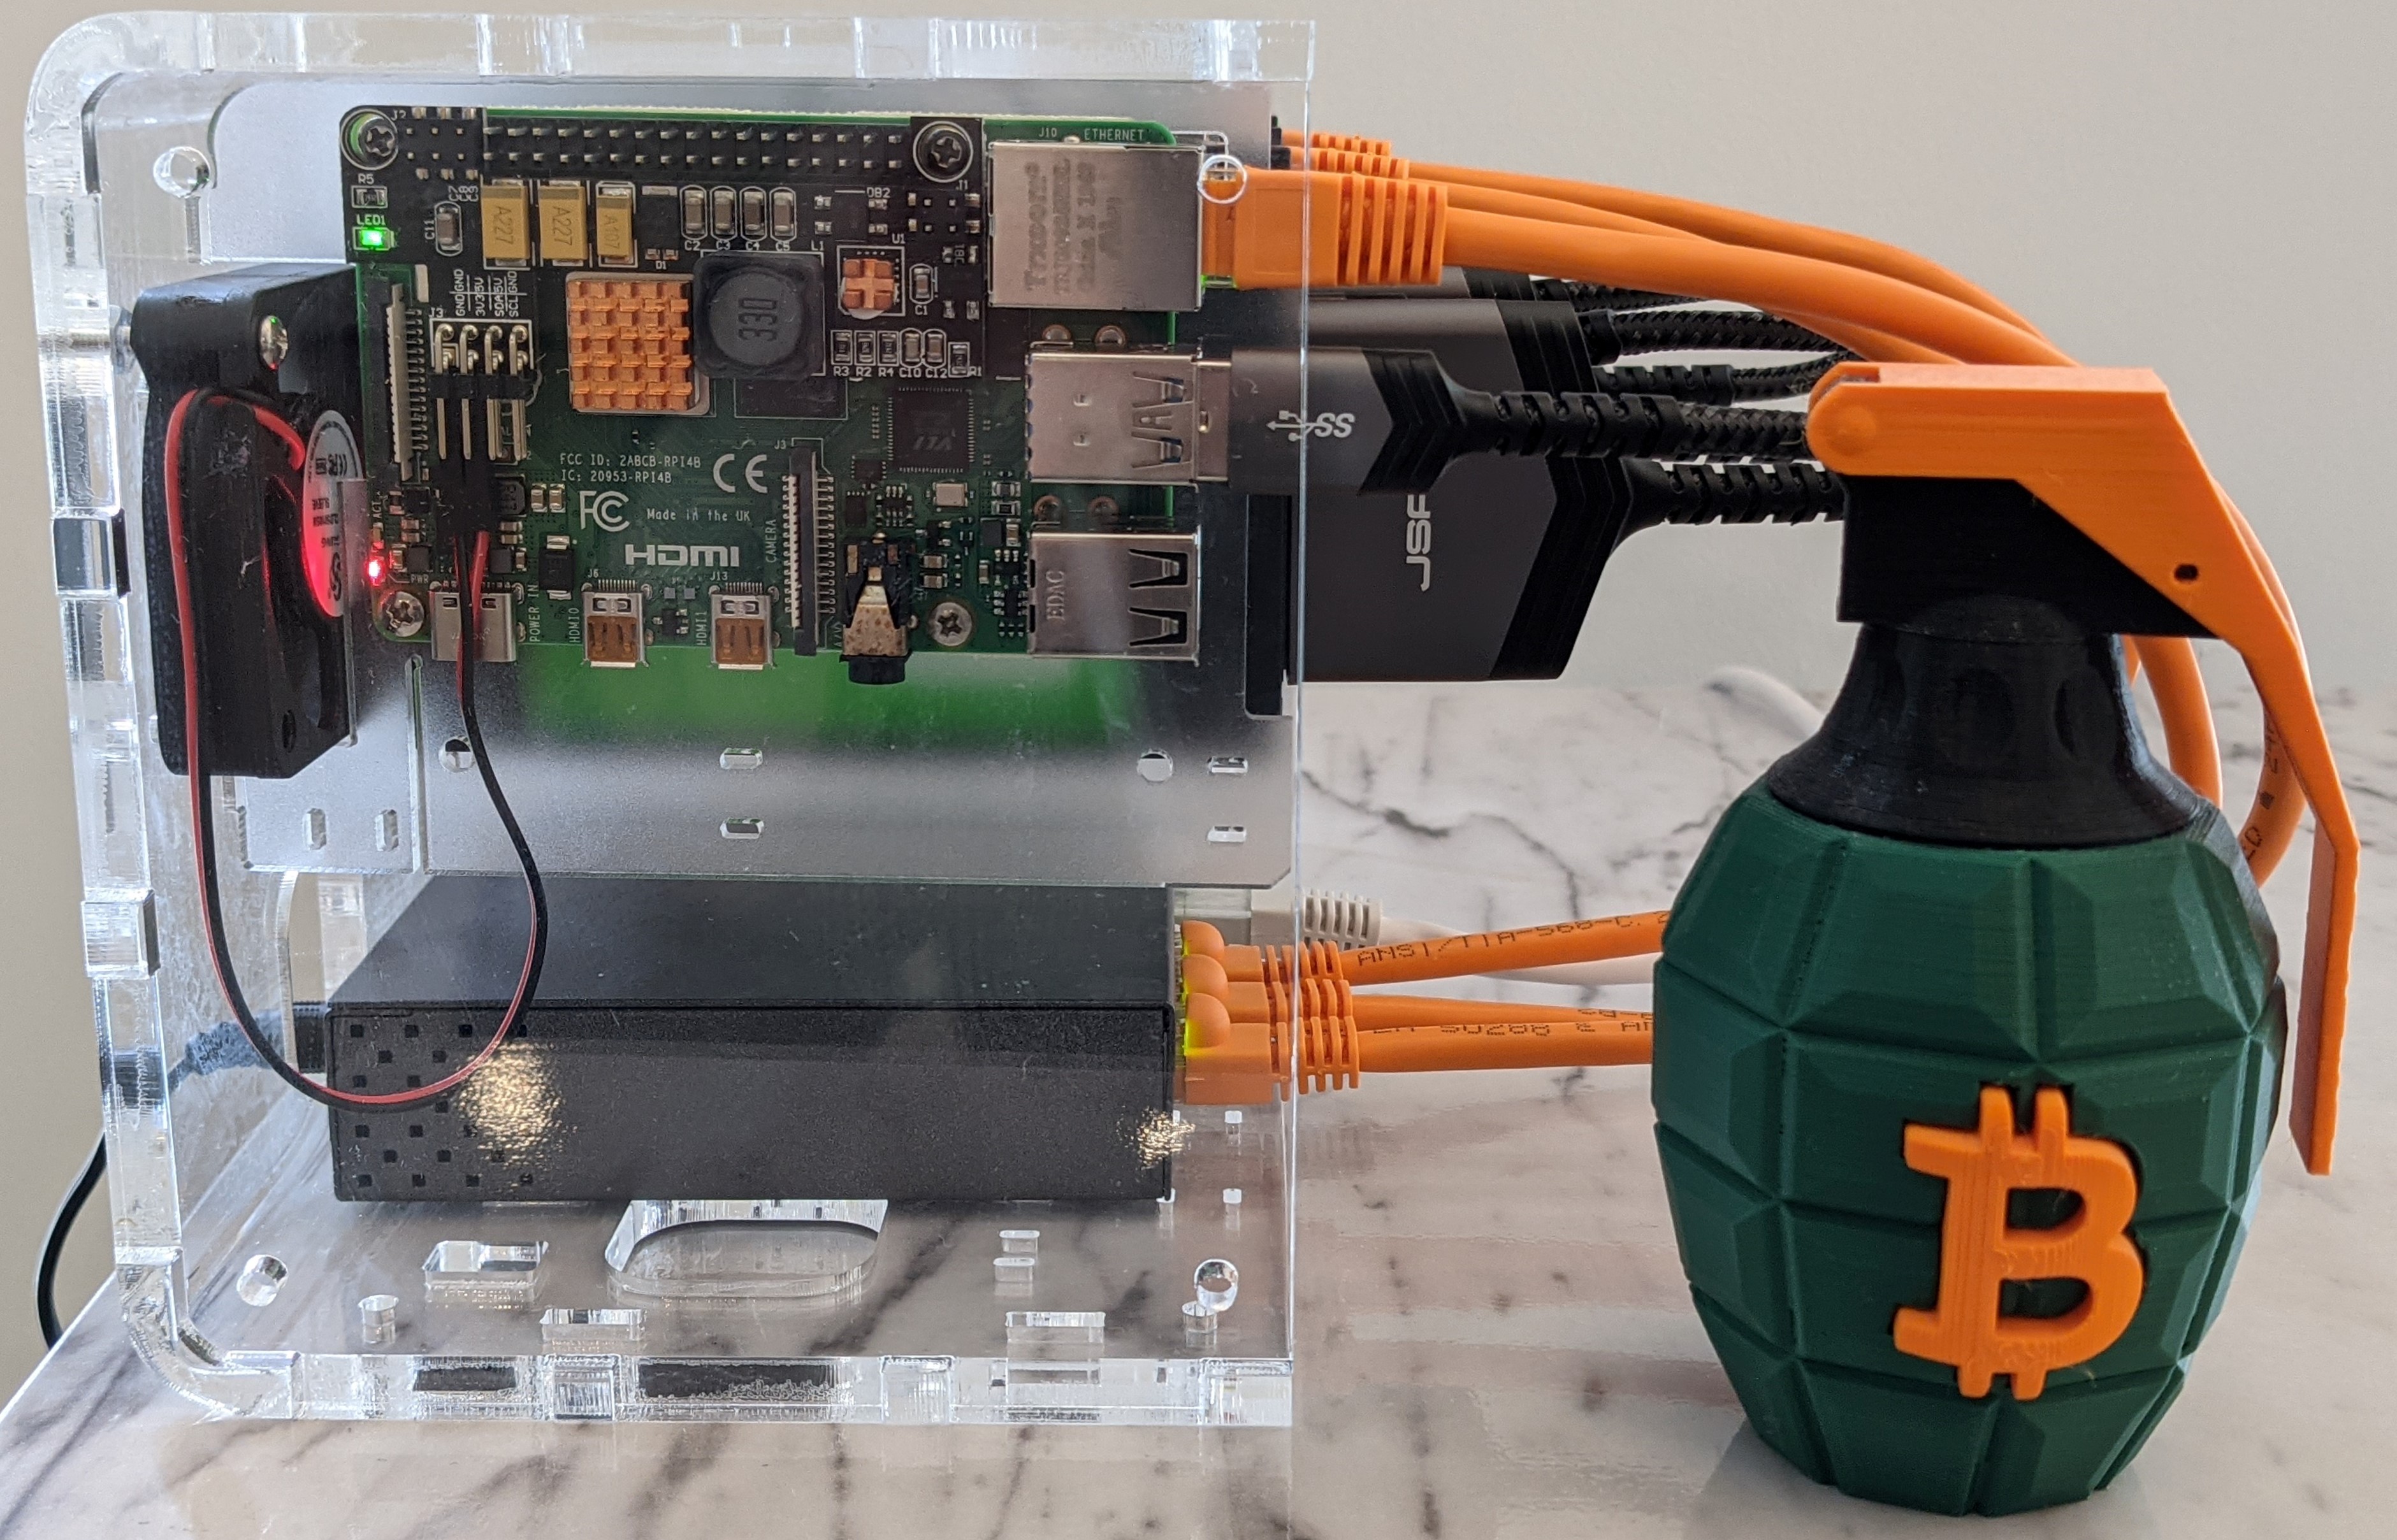
3. Assemble each Raspberry Pi and SSD on the case bays
- Flash the SD card with a Bitcoin image (MyNode and Umbrel are popular)
- Insert SD card into Raspberry Pi
- Stick heatsink on Raspberry Pi’s CPU
- Push PoE HAT onto Raspberry Pi pins until fully down
- Screw Raspberry Pi into case bay (see images below)
- Screw SSD into case bay (see images below)
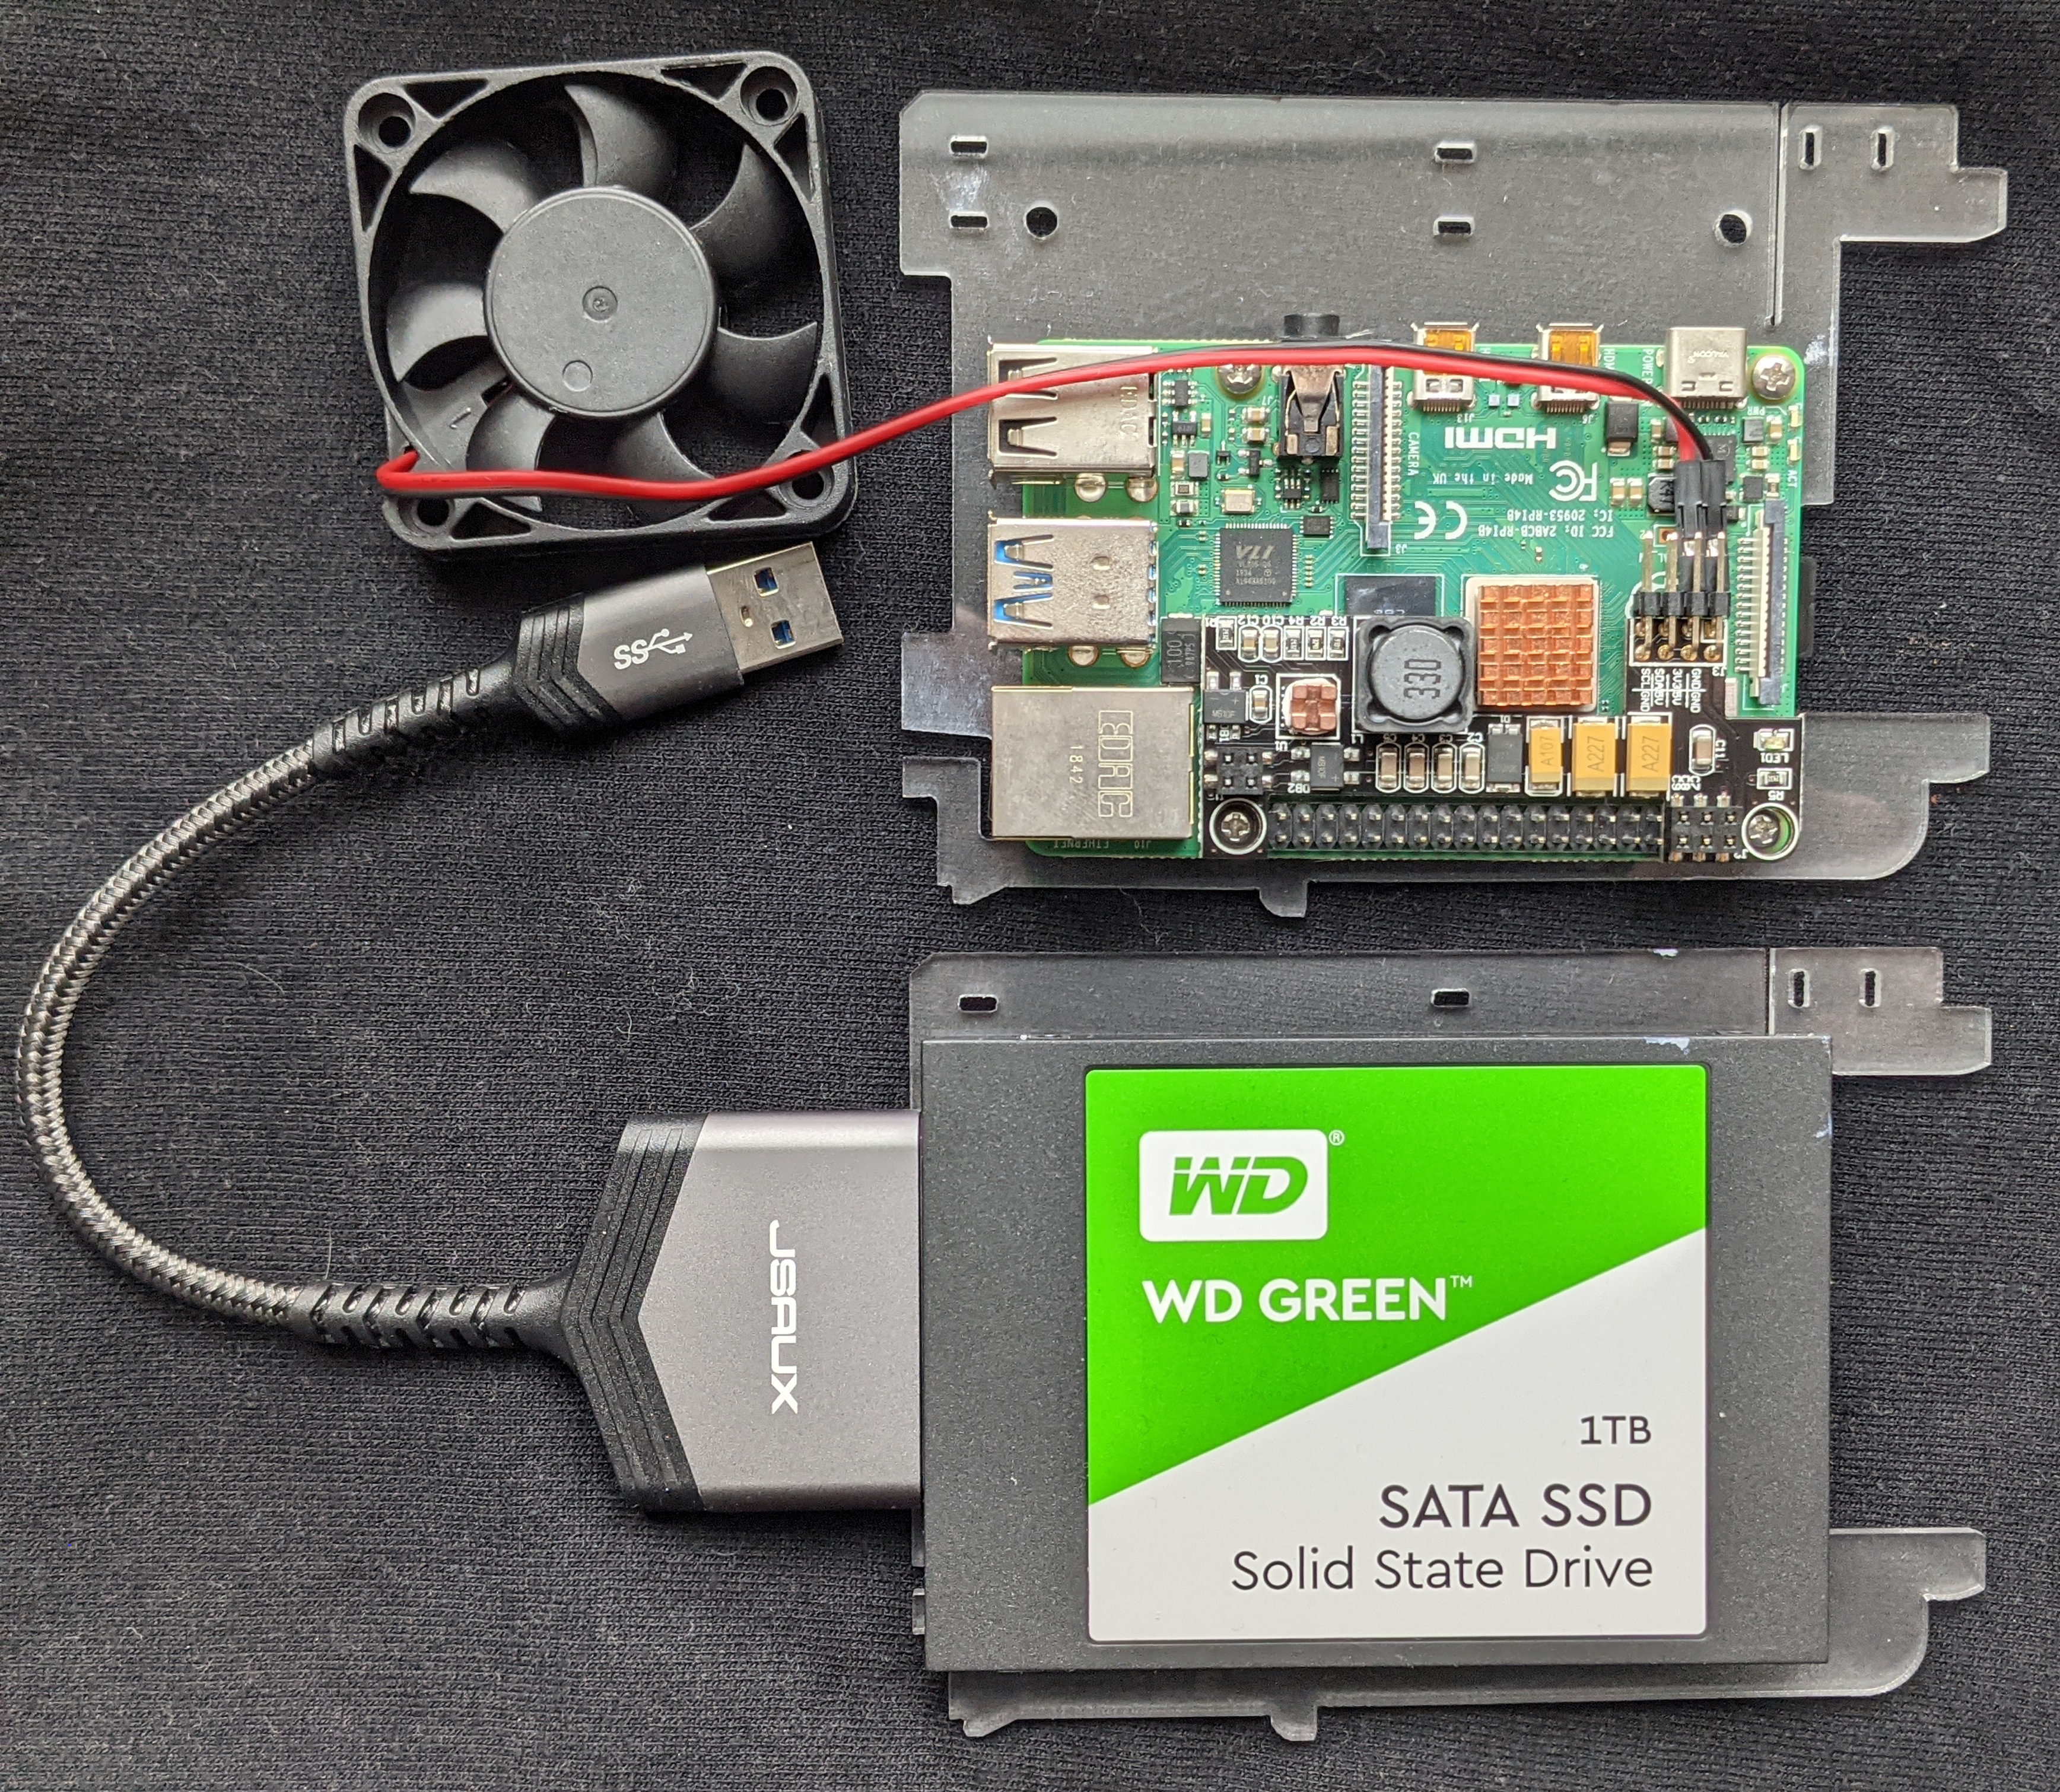
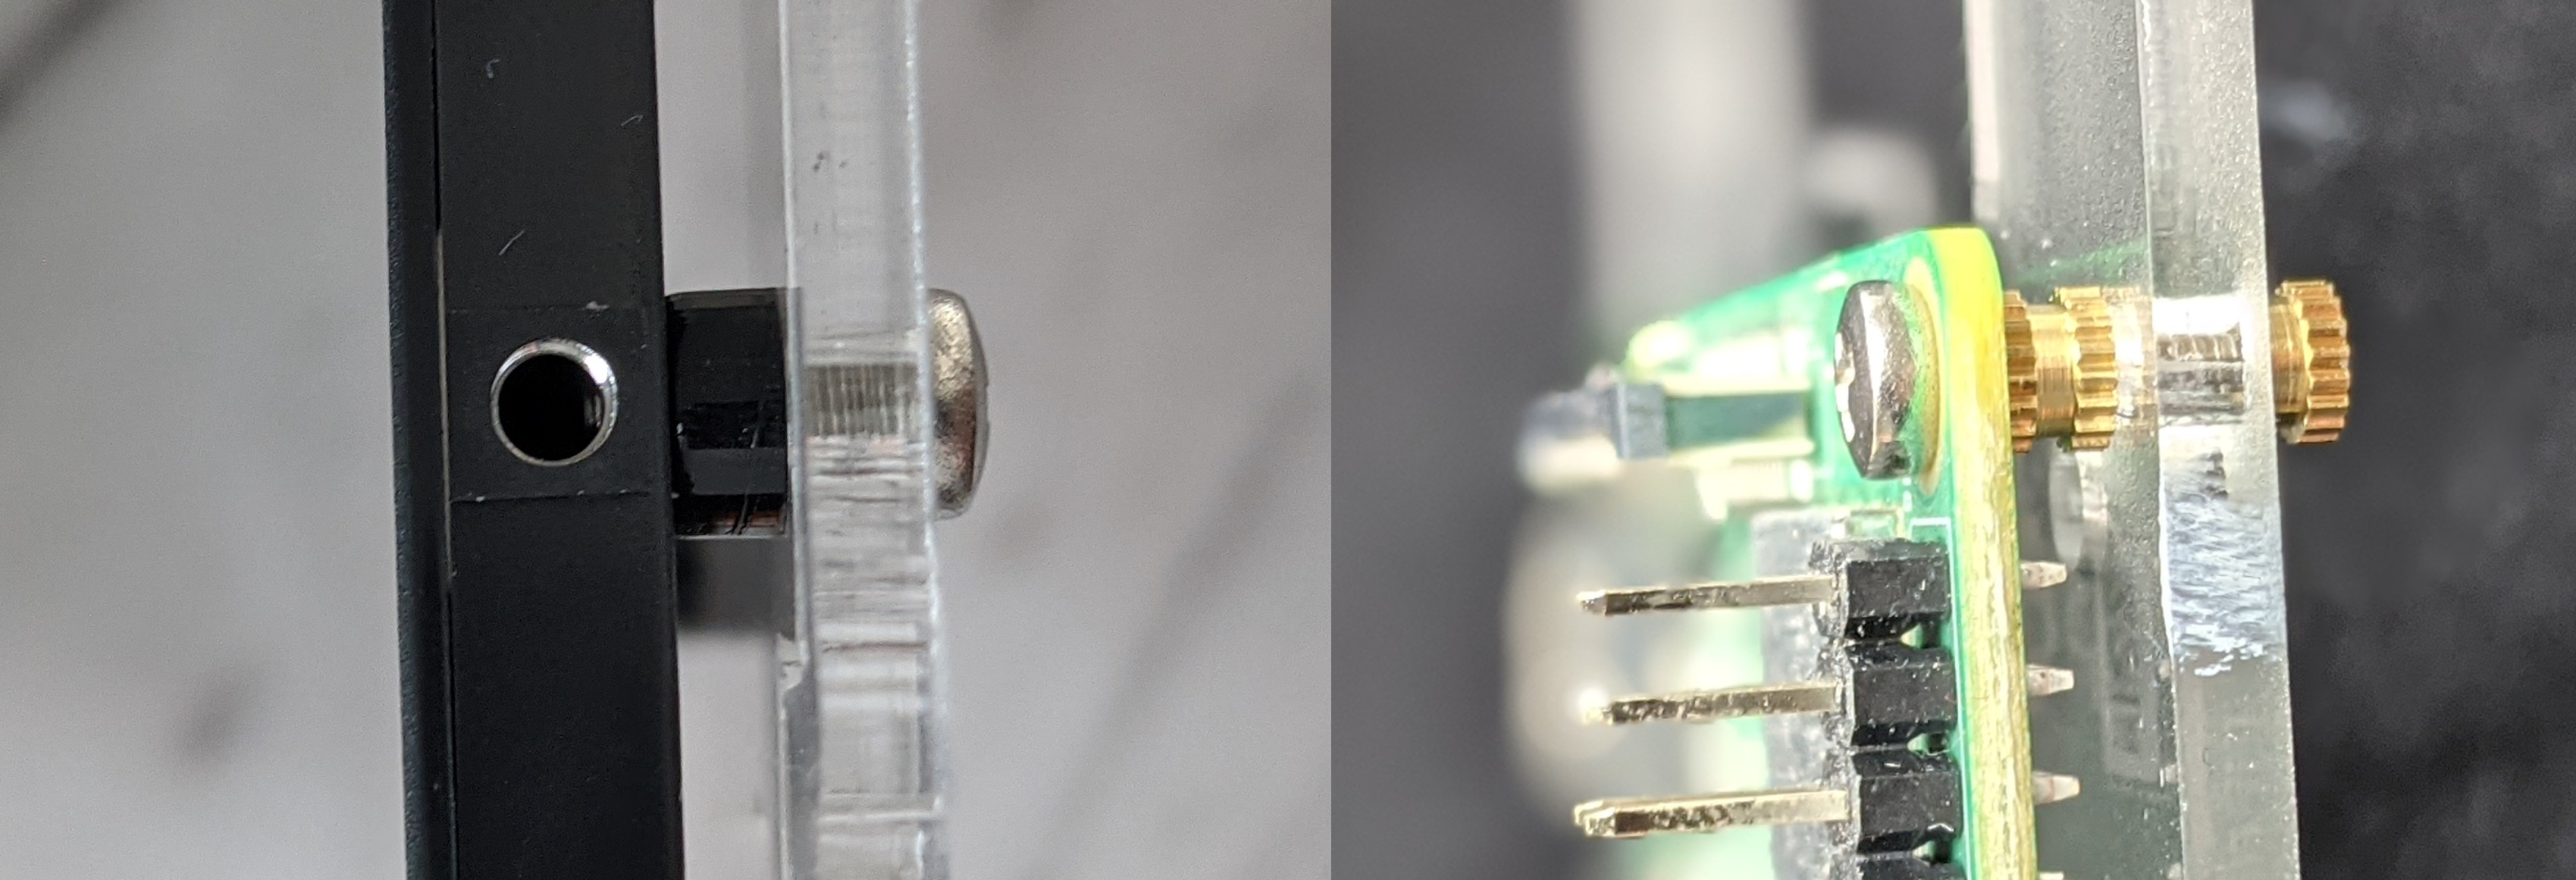
Make sure you get the orientation right when mounting on the bays.
4. Connect the bays in the case
- Screw the fan into the case
- Insert the Raspberry Pi and SSD bays into case
- Attach the fan to Raspberry Pi (Black wire -> ground pin, Red wire -> 3v pin)
- Connect the SSD to the Raspberry Pi with the adaptor cable
- Connect Raspberry Pi to the ethernet switch’s PoE slot
After you plug the ethernet cable in, the switch will automatically power on the Raspberry Pi. The switch needs to be plugged in and connected to your home router/modem (using port #5 on the switch).
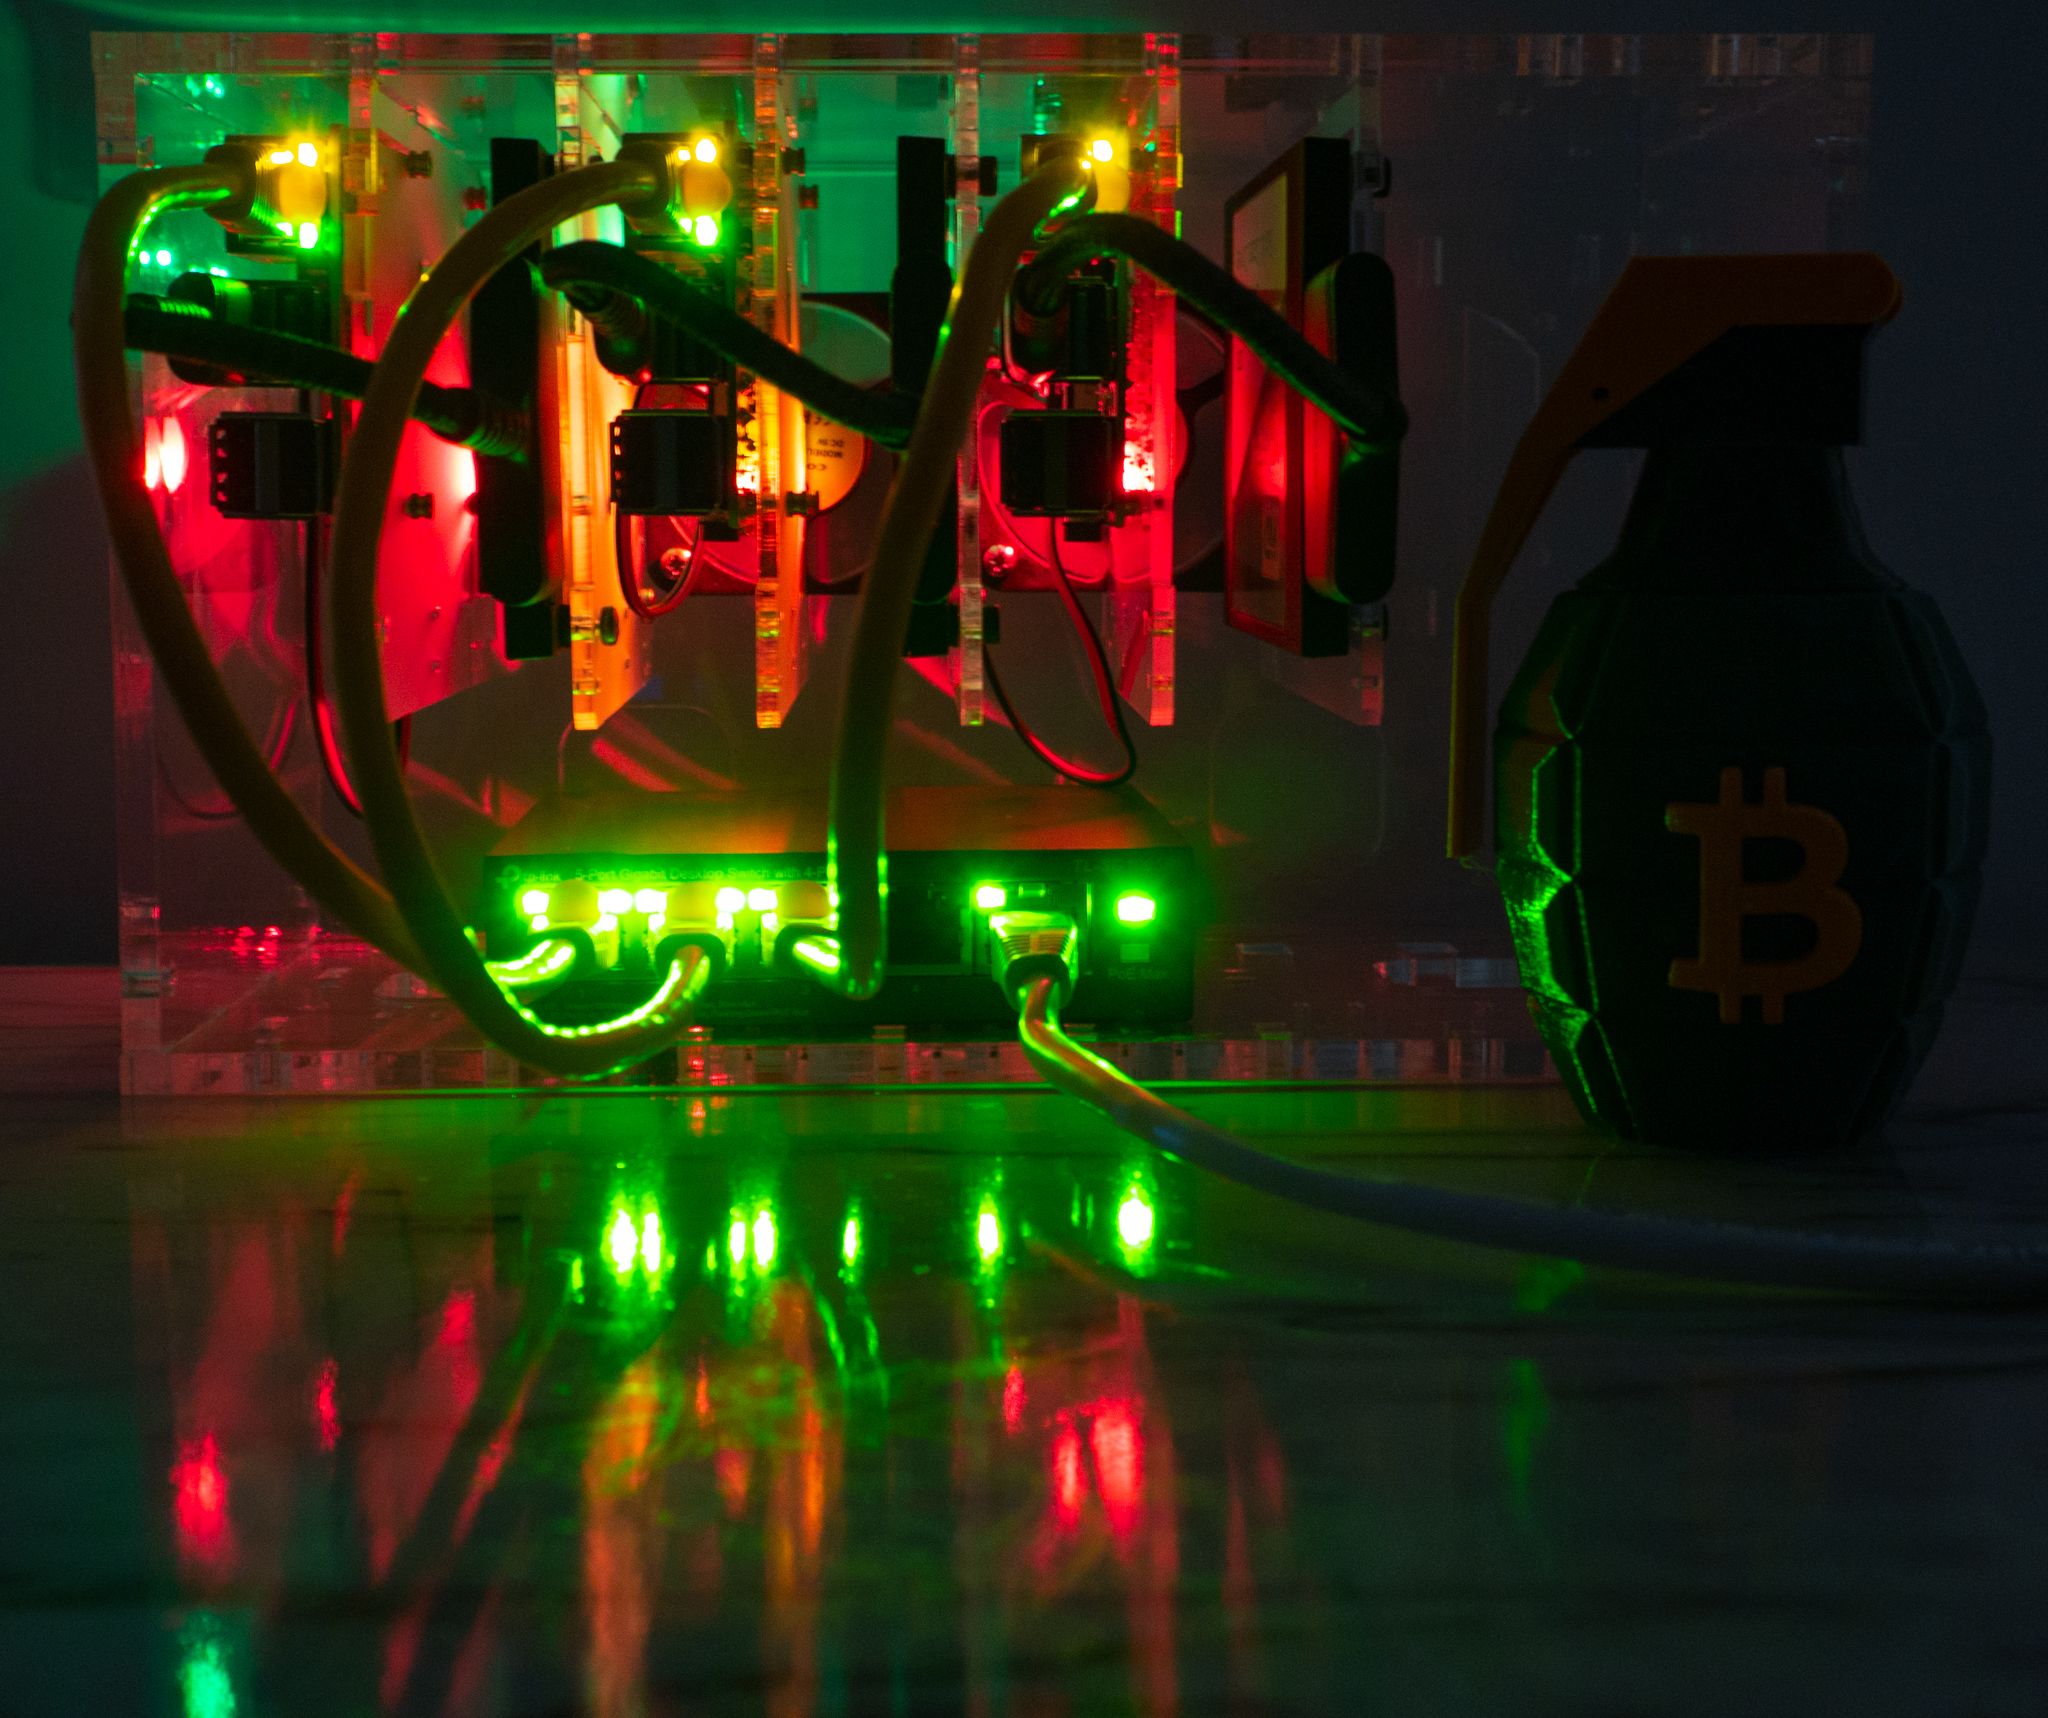
The Bitcoin cluster also makes a good cypherpunk night light.